# Add Torque 2D
Apply a torque at the rigidbody's centre of mass.
Applying torque to the Rigidbody2D changes the angular Velocity only. This change is scaled (divided) by the rotational inertia. Therefore, a larger inertia results in smaller changes to angular Velocity, and a smaller inertia results in larger changes to angularVelocity.
When applying torque either as a force or an impulse, you can use any value to get the required change in angular Velocity. However, if you require a specific change in degrees, then you must first convert the torque value into radians then multiplying by the inertia.
**To create it**, right-click on free space in AI Tree inspector and select Create Node/Tasks/Rigidbody2D/Add Torque 2D.
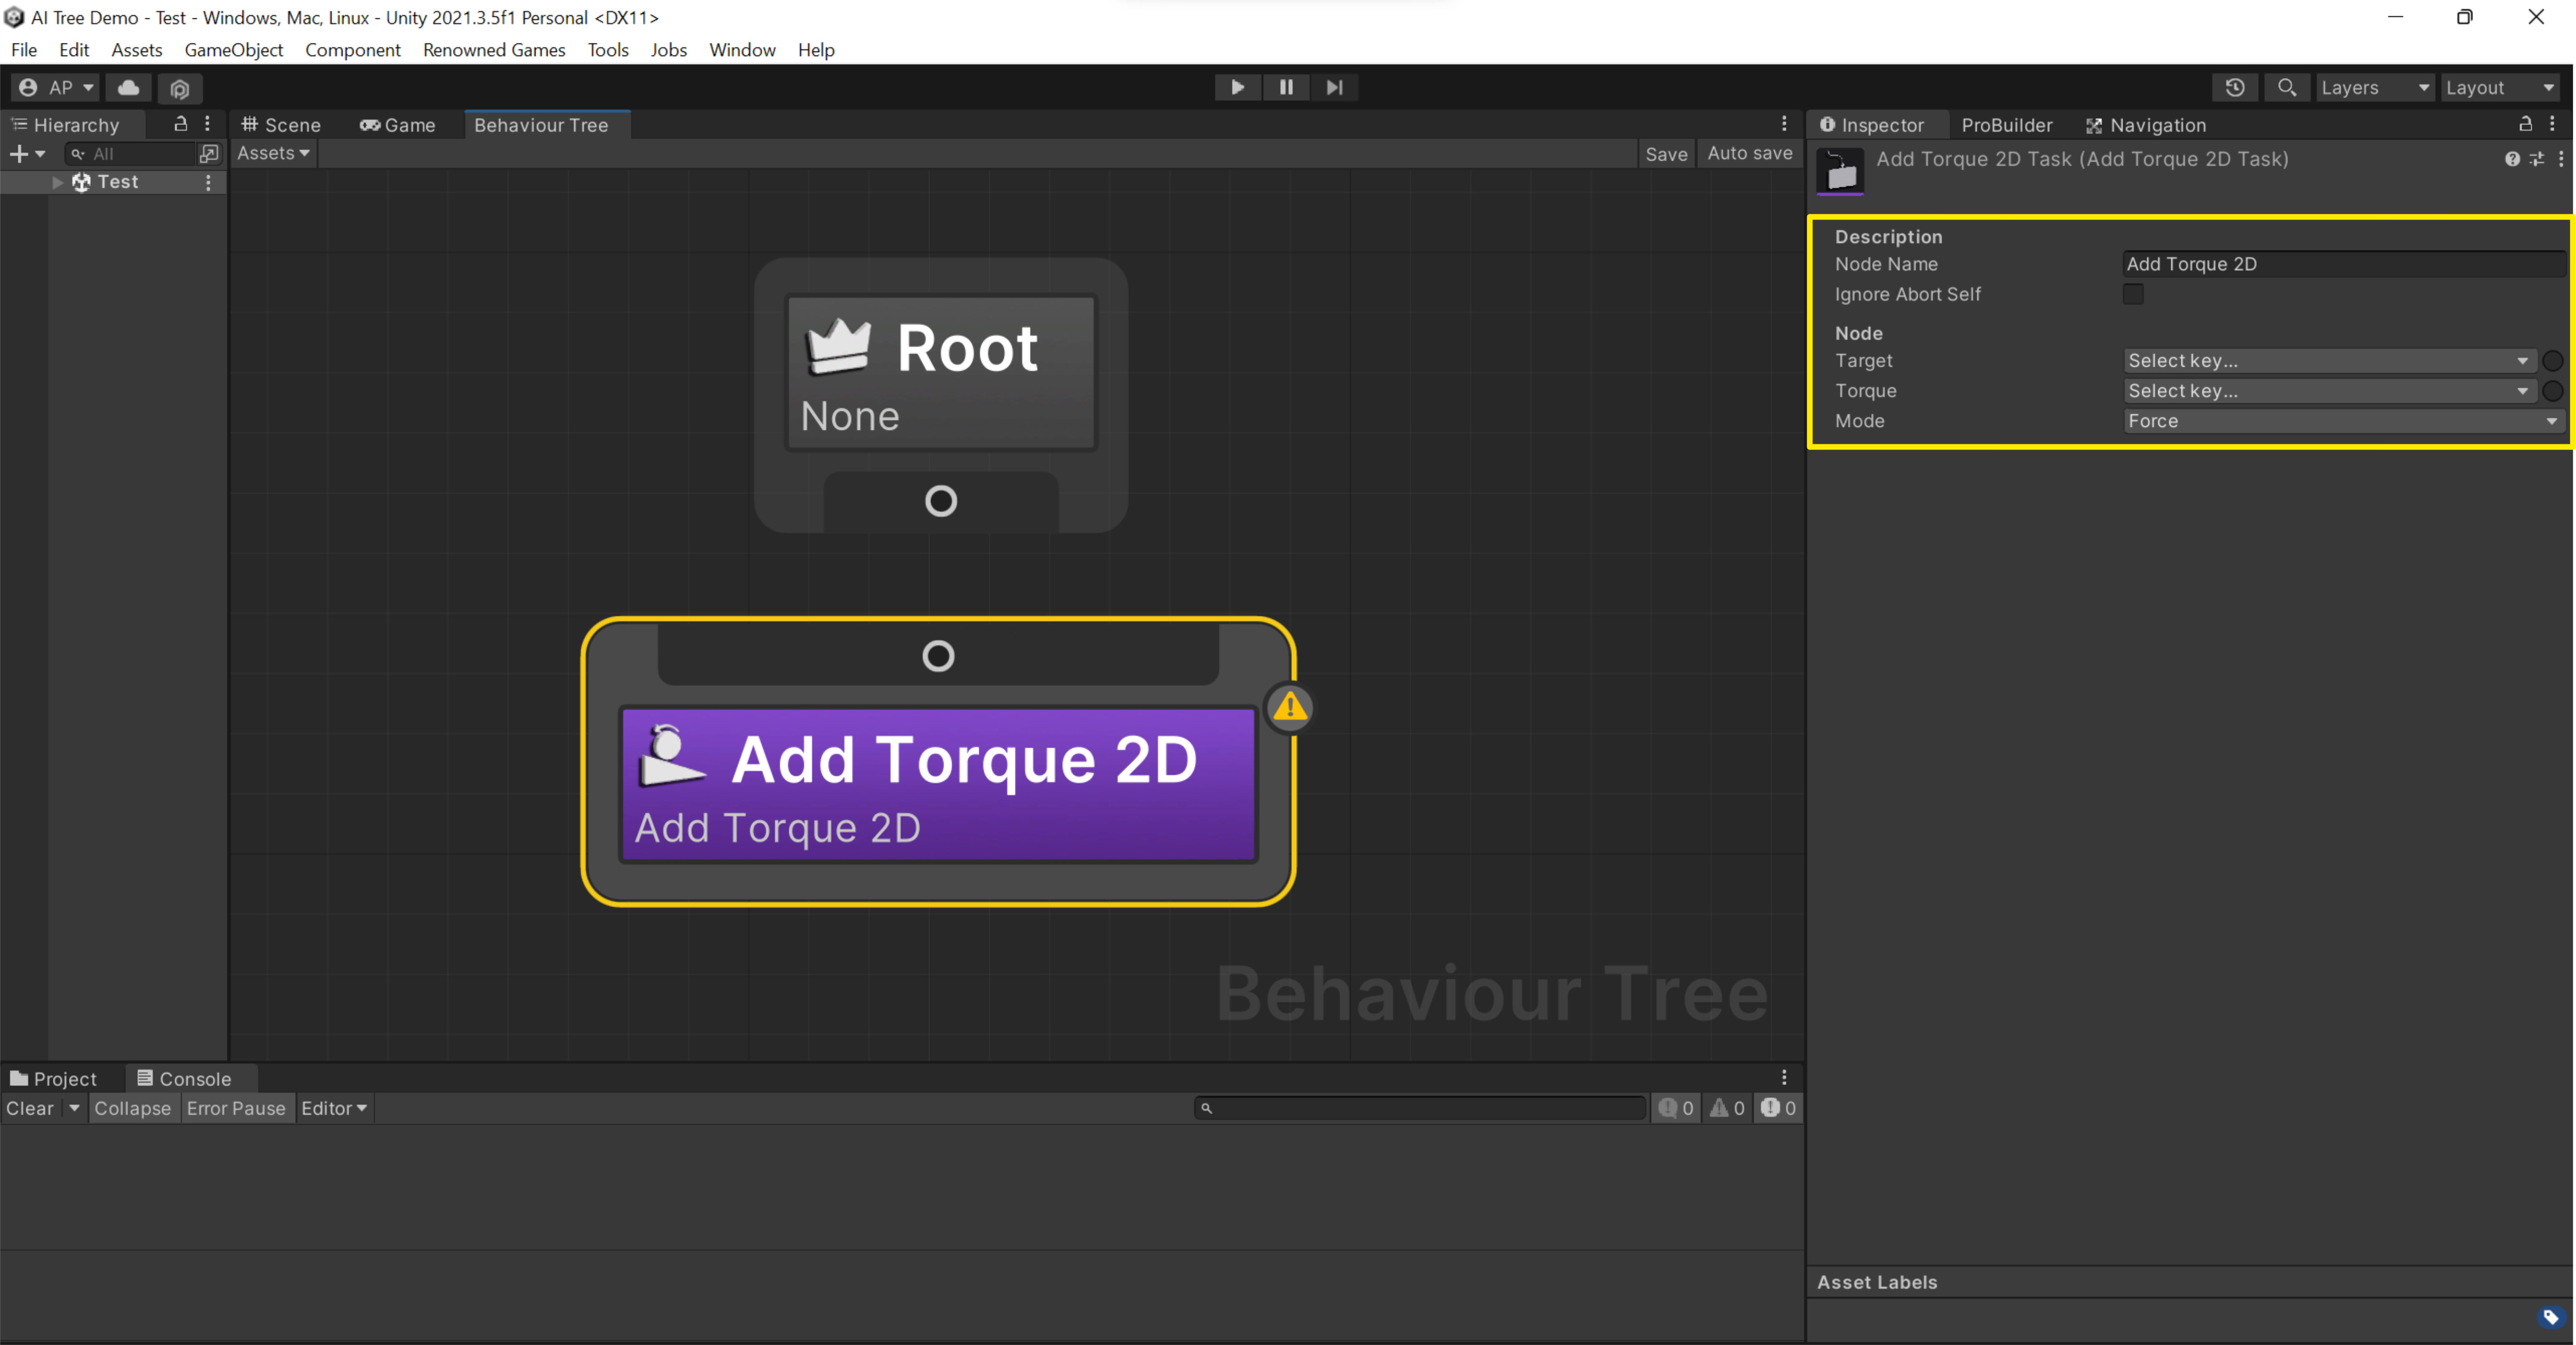
This task node has a number of fields, that are highlighted in picture below.
### Fields
| Name | Description |
| ----------------- | --------------------------------------------- |
| Node Name | Name of node |
| Ignore Abort Self | Whether node ignores abort self or not |
| Target | Target to which torque is added |
| Torque | Torque vector in world coordinates |
| Mode | Method used to apply the force to its targets |